How to Create a Per-user SKU
Per-user pricing models are most commonly used by subscription platforms. Also known as a license, seat, or user-based pricing, it is applicable to a broad range of industries.
Pre-reqs
Before we begin you should decide if your product or service is based on a monthly or yearly unit pricing schedule. Meaning will you be charging your users a recurring license fee once a month or once a year.
A SKU’s unit pricing schedule is used to calculate line item amounts and contract values. A unit pricing schedule is separate from a billing schedule. RevOps provides a Billing Frequency term to support billing customers at a different interval than your pricing.
1. Create a new SKU
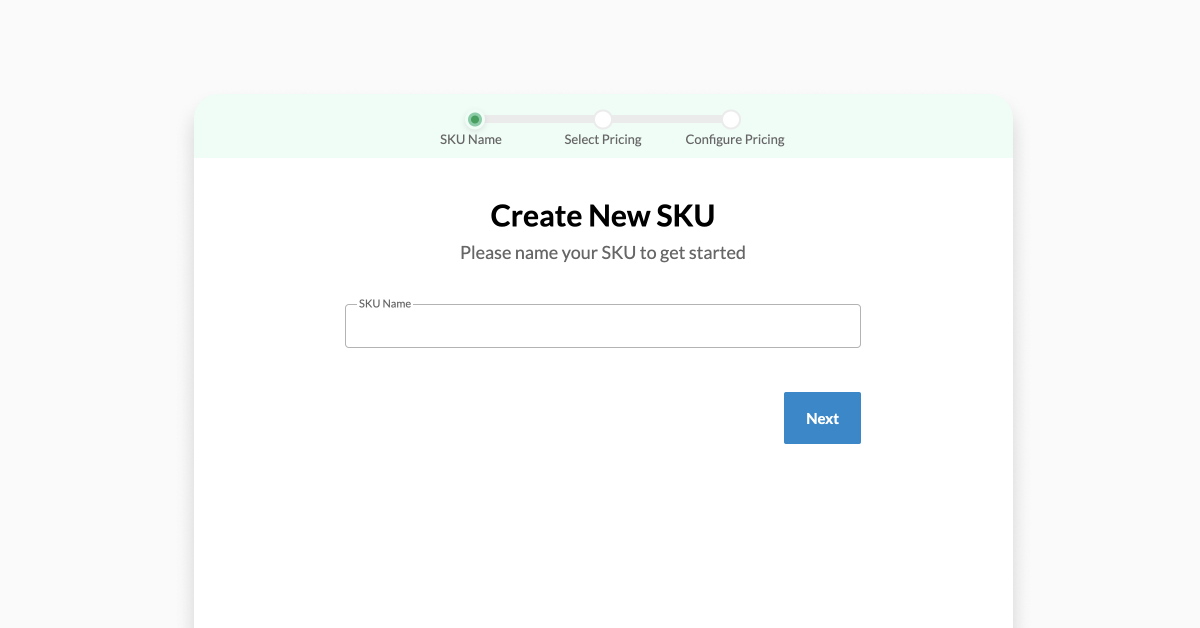
To create a Per-user priced SKU, you need to start by going to the SKUs settings page (Hover on Settings, click the 1st item in the list, SKUs). Once there, create a new SKU using the Create SKU button. In the SKU creation wizard first define a SKU name.

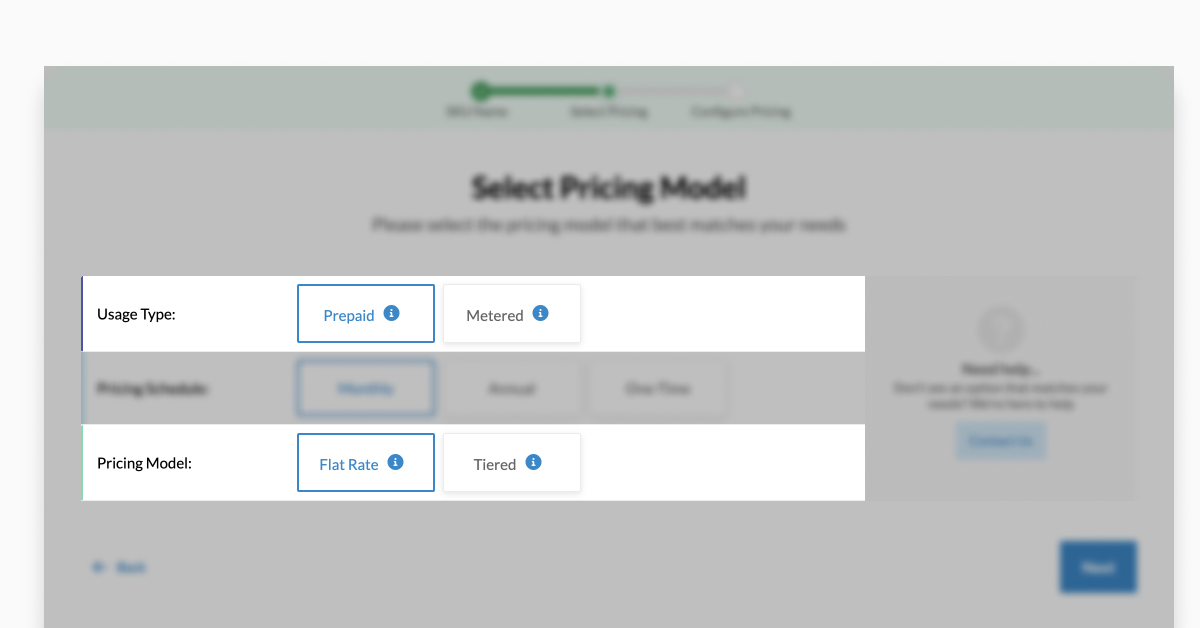
In the next step select Usage Type: Prepaid and Pricing Model: Flat Rate.

For Pricing Schedule select:
- Month - if the product or service is charged on a monthly basis
- Year - if the product or service is charged on an annual basis

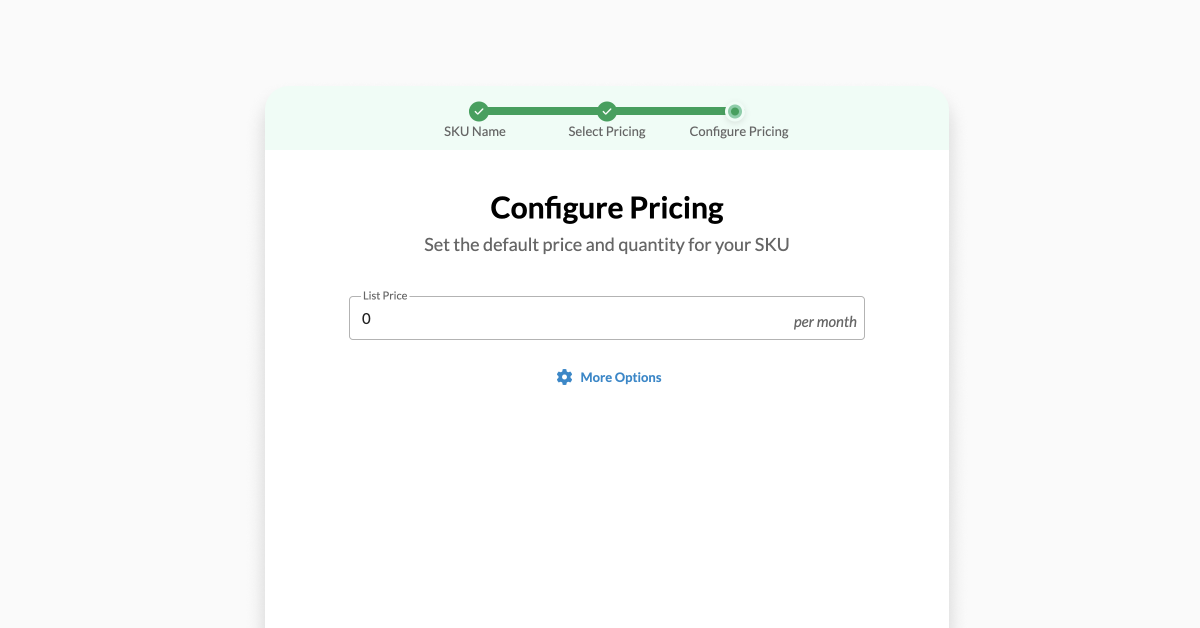
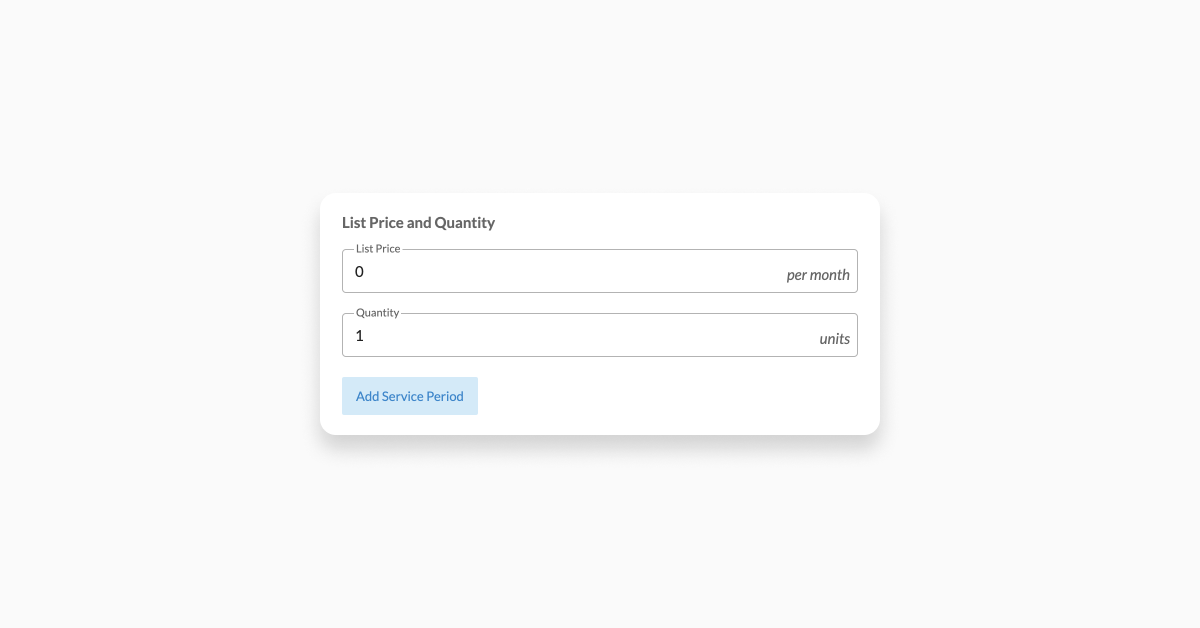
Click More options button to reveal the following sections:
- List price & quantity
- Add service period - Available for Monthly and Annual Pricing schedules.

- Currency and Unit Name
- Number of allowed decimal places
Click Save to save and create your SKU.
2. Fill out details
Once SKU is created you will be redirected to SKU Detail/Edit page where you can review all provided information or continue editing fields not surfaced in the SKU creation wizard. Continue filling in all relevant information for your SKU. SKU Name will be used only within RevOps while Line Item Title will be displayed to your customer. Include any specifying language in the Description field like how overages will be handled.
3. Save the SKU
After you’re happy with how you’ve set up your SKU, scroll to the bottom of the page, and click the Save button in the bottom right corner.
If you have Salesforce or HubSpot connected to your Workspace, confirm that the respective Salesforce Integration or HubSpot Integration tabs have their IDs fields automatically filled in.
Use the SKU
To start quoting, head to RevOps, and click on the Create Deal button in the top right corner. On the deal, click the Add SKUs button to create a new line item with our new per-user SKU. Click the Done button to create a pricing table, titled "Subscription" by default, with your SKU as a line item. To learn more about how to adjust the display of this table, take a look at this article. Now we can adjust the Quantity sold and apply a Discount, if appropriate. Because this is a Per-user SKU, you will want to set the Quantity to the number of licenses or seats the customer is looking to buy.

The yearly Platform Fee SKU has a 50% discount applied.