Quick Start Guide
Welcome to RevOps! In this guide, we'll outline all the essential steps required for successfully integrating yourself and your team onto the RevOps platform.
This guide assumes that you are an existing RevOps user with admin level permissions.
Table of Contents
Getting Started
Connect your CRM
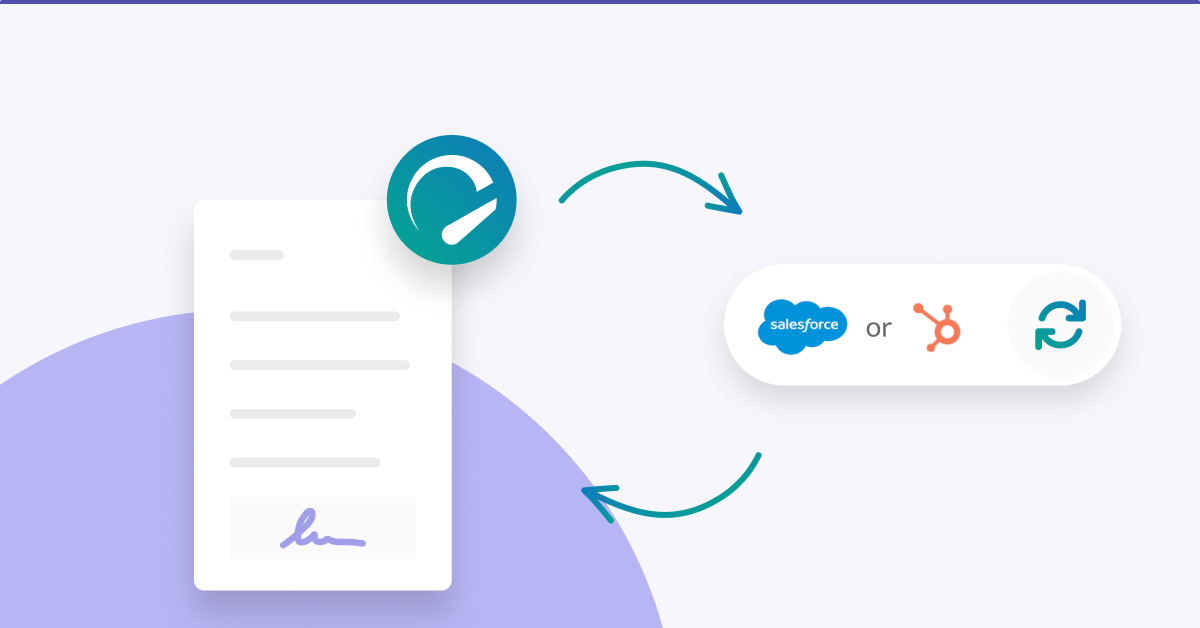
If your organization already utilizes tools such as Salesforce or HubSpot, and the data stored within these platforms is of utmost importance. The good news is that RevOps seamlessly integrates with your CRM tool, ensuring smooth data synchronization and utilization.
When you connect your CRM, you can:
- Import data to be used when creating deals
- Sync new data collected during your sales process back to your CRM
To get started, visit Settings > Integrations and select either Salesforce or HubSpot.
We’ll finish configuring your CRM later in the process, or you can learn more about the things you can do with your RevOps data and your CRM with our Salesforce and HubSpot integration guides.
Don’t have a CRM? You can skip this step and enter data manually.
Create a SKU
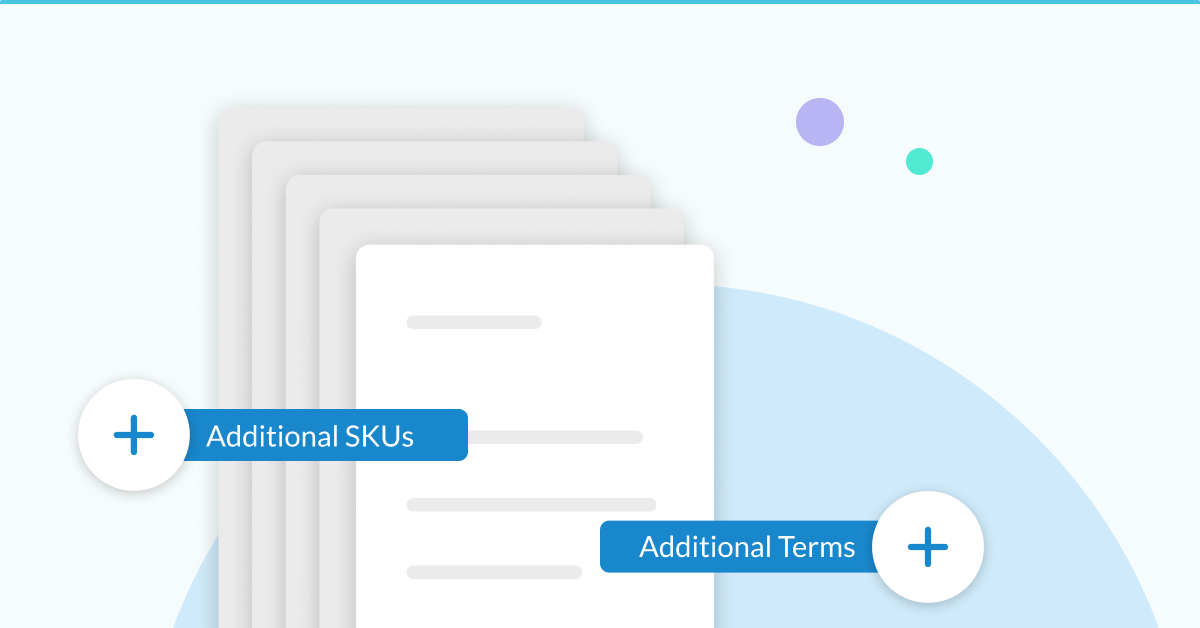
Products or services are represented by SKUs in RevOps. When creating a deal, you add SKUs to the deal turning them into Line Items.
To create a SKU, visit Settings > SKUs and select Create SKU.
Have an existing product catalog you want to import? SKUs can be created or updated in bulk via CSV.
For more information on SKUs, read our SKUs & Line Item documentation.
Create a Term
The products that you’re selling only represent part of the contract. The legal language and contract data surrounding your agreement is controlled via Terms in RevOps. Common examples included payment terms, payment method, start date, auto-renewal, or marketing permissions.
Each company will have their own unique Custom Terms and RevOps will include several Built-In Terms with special functionality. Your RevOps account comes pre-loaded with some examples and your Built-In Terms.
To create or manage your terms, visit Settings > Terms.
For more information on terms, visit the Terms Documentation.
Create a Template
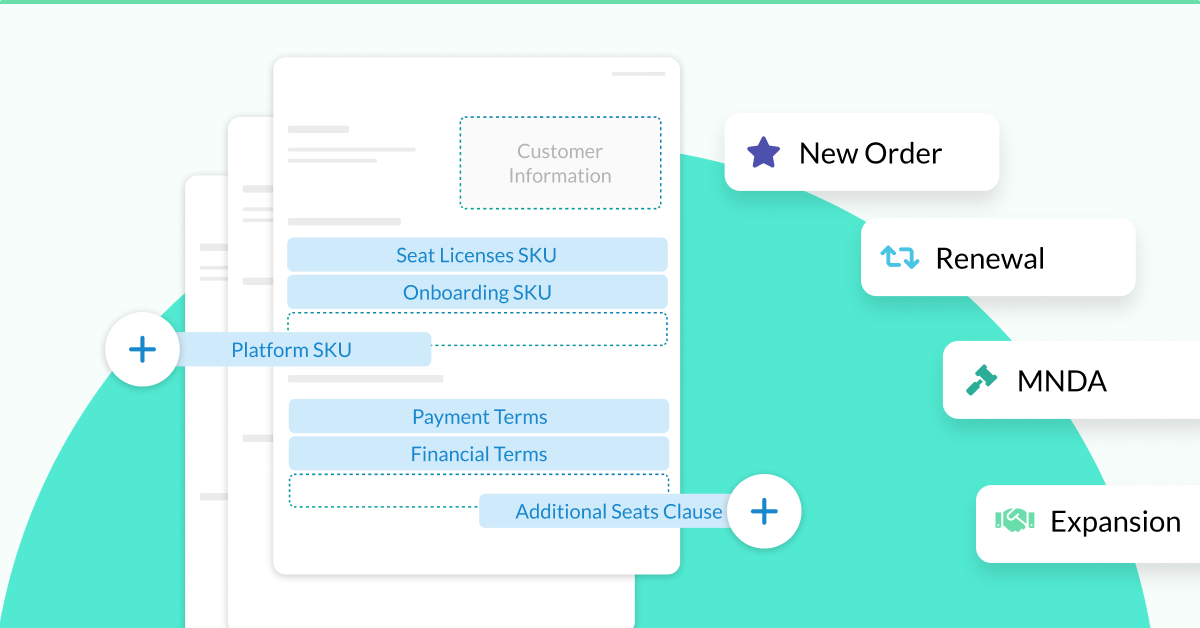
Consistency and efficiency are crucial in sales processes, which is why every deal starts from a reusable deal template. This streamlines the deal creation process by starting on the right foot based on the agreement being prepared.
This guide walks you through everything you need to know about creating your first template..
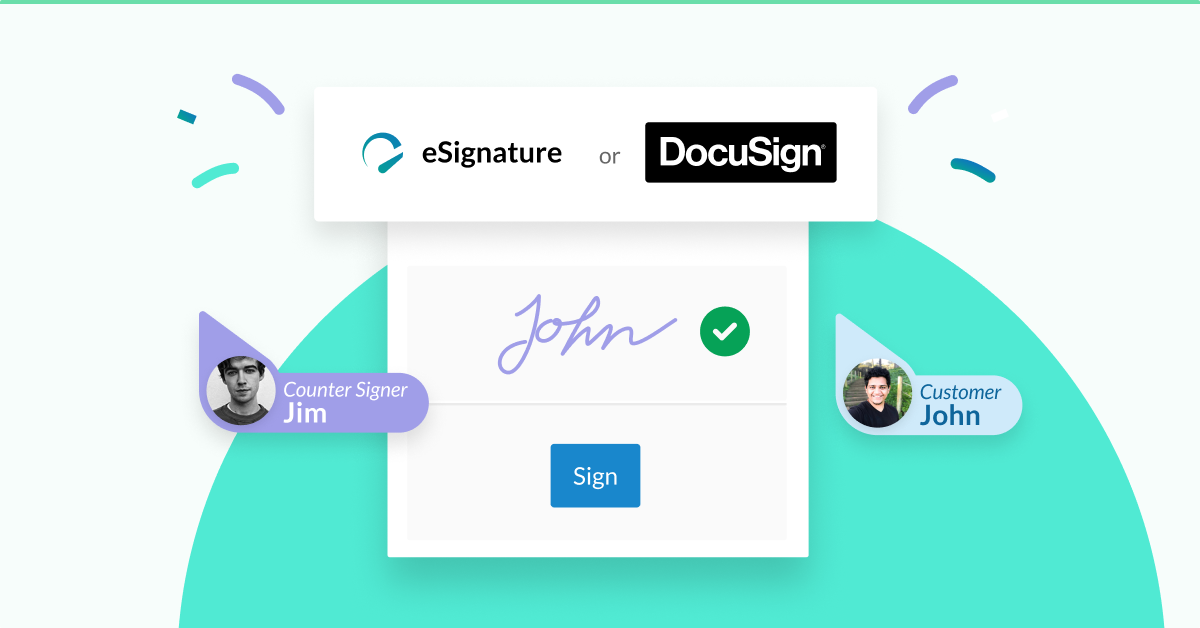
Configure a Default Countersigner
Many legal agreements are signed by both parties to fully convey acceptance of terms. If you want to have two parties sign your agreements, visit Settings > eSignature to add your default countersigner.
If your countersigner changes based on different criteria, we’ll get to that later.
Create a Deal
A deal represents a legal agreement between you and your customer such as a new order form or NDA. The deal will move through various stages as it is edited, reviewed internally, approved, reviewed externally, and signed.
To get started with creating your deal, click the Create Deal button in the top right corner. Read this guide for detailed instructions
When creating deals you’ll have the option to:
- Import Customer data from your CRM
- Provide data manually
- Skip this step and decide later.
For the sake of data cleanliness, we encourage you to connect all your deals to your CRM opportunity. This will ensure that the data in RevOps always matches your data in your CRM.
Once you’ve created your deal, submit it for approval!
When testing the buyer signature experience, be sure to use an email that is not associated with a RevOps user within
Approve your Agreement
By default, your organization will assign all deals to your admins to approve. Once you’ve submitted the deal for approval, you can use the approve button to approve the topic.
Since there is only one topic, approving the topic will approve the deal.
Share & Sign your agreement
Once the deal has been approved, RevOps will allow you to share your deal with customers via Deal Desk.
Need to send a document for review before approval? You can download a watermarked PDF while your deal is in Draft or Attention status.
For signing outside RevOps, download a Read-Only or Editable PDF once the deal is in Approved, Negotiation, or Signing status.
RevOps has its eSignature platform that’s included for free!
Once the buyer has signed the agreement, it will be routed internally for countersignature.
Adjusting Default Configuration
Congratulations! 🎉 You’ve just completed the RevOps basics. This section will cover how to fine-tune your setup including automating approvers and signers, syncing data to your CRM, and managing your team.
Sync with your CRM
If you connected a HubSpot Deal or Salesforce Opportunity when you created your deal, RevOps automatically started synchronizing data back to your CRM. You can view the data under the Integrate with CRM card on Deal Desk or by Monitoring Data Sync.
Most attributes on a RevOps deal are available to map back to custom CRM fields such as status, an internal link, and values of terms such as payment terms, payment method, or start date. To sync these values, map your data to Salesforce or HubSpot.
For more information, see all of our CRM integration documentation.
Invite Your Team
Creating deals and sharing them with customers requires the support of your team. Once you’re ready, we’ll add team members to assist in the creation, approval, countersignature, and sharing of deals.
To add your team members, visit Settings > Users and select New User. Review managing users and user permissions for more information.
Users can be grouped into teams to power approval and signature automation. Visit Settings > Teams and select New Team to start your first team. Learn more about this process of creating a team or managing countersigners
Users don’t have to belong to a team. This is common in organizations with a single sales team. A user must be on a team to be automatically assigned as an approver or countersigner.
Automate Your Workflows
RevOps workflows enable you to automatically approve deals, assign different sections for approval, or assign a countersigner based on the deal that was submitted. Deals that follow the ideal standard without deviation can be auto-approved. If payment terms are changed from NET-30, you can flag that for your finance team to approve.
Learn more about each type of workflow:
- Auto-Approval - Auto-Approve your deals with the RevOps Bot (ROB) without ever having a human review.
- Approval Topic - Flag different sections of the deal for manual review from one or more teams.
- Signature Assignment - Automatically assign different countersigners for different types of deals.
Additional Support
If you need further assistance utilizing RevOps, our support team is available at support@revops.io.
Whenever possible, please include a link to the relevant Deal, SKU, Template, etc... that is related to your request along with any other helpful information. This will help us expedite the process and ensure a more accurate resolution.