Bulk Import SKUs
If you have an existing product catalog that you'd like to import into RevOps, you can bulk create SKUs using a spreadsheet.
Create Your SKU Spreadsheet
We provide a template that you can copy and customize with your product information.
To edit the document, go to File -> Make a Copy and save it to your Google Drive.
Review the Instructions tab to understand the different fields available for import. Then, navigate to the SKU List tab to begin entering your product details. You can also share the Google Sheet with other stakeholders at your company to assist with data entry.
Once your spreadsheet is complete, download it as a CSV by visiting File -> Download -> Comma Separated Values (.csv) while on the SKU List tab.
Choose Bulk Action

In RevOps, navigate to Settings -> SKUs. At the top of the page, click the Import SKUs button.
This will launch the bulk SKU import wizard.
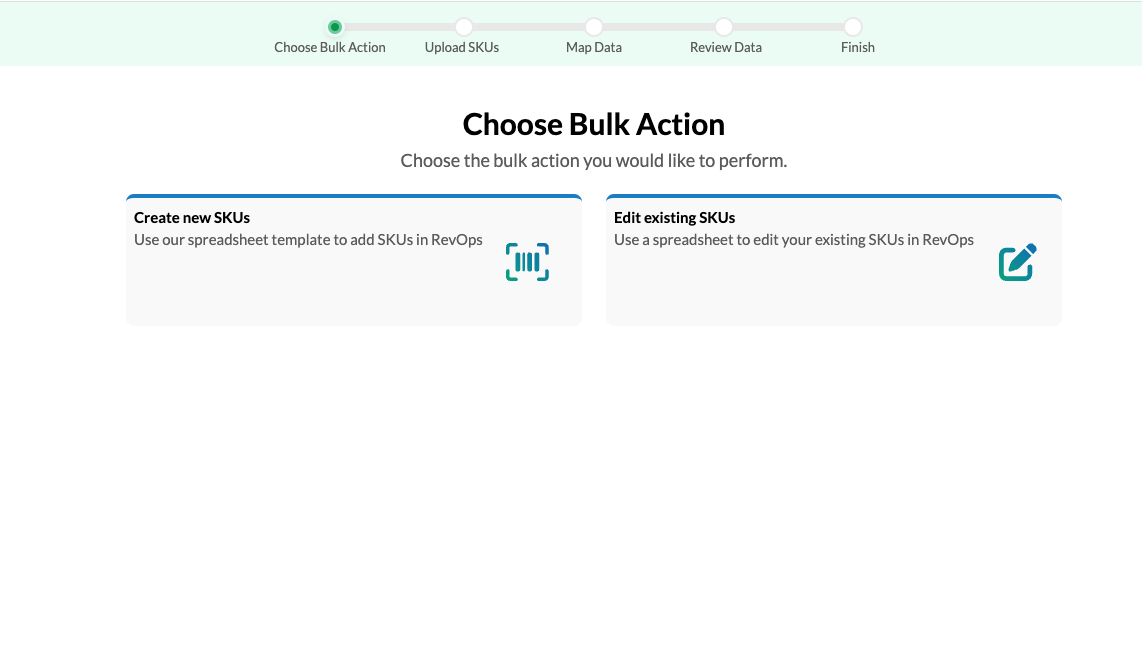
The first step in the wizard is choosing whether to import new SKUs or edit existing ones. To import new SKUs, select Create new SKUs. To edit existing SKUs, select Edit existing SKUs and follow the bulk editing article.
Upload SKUs

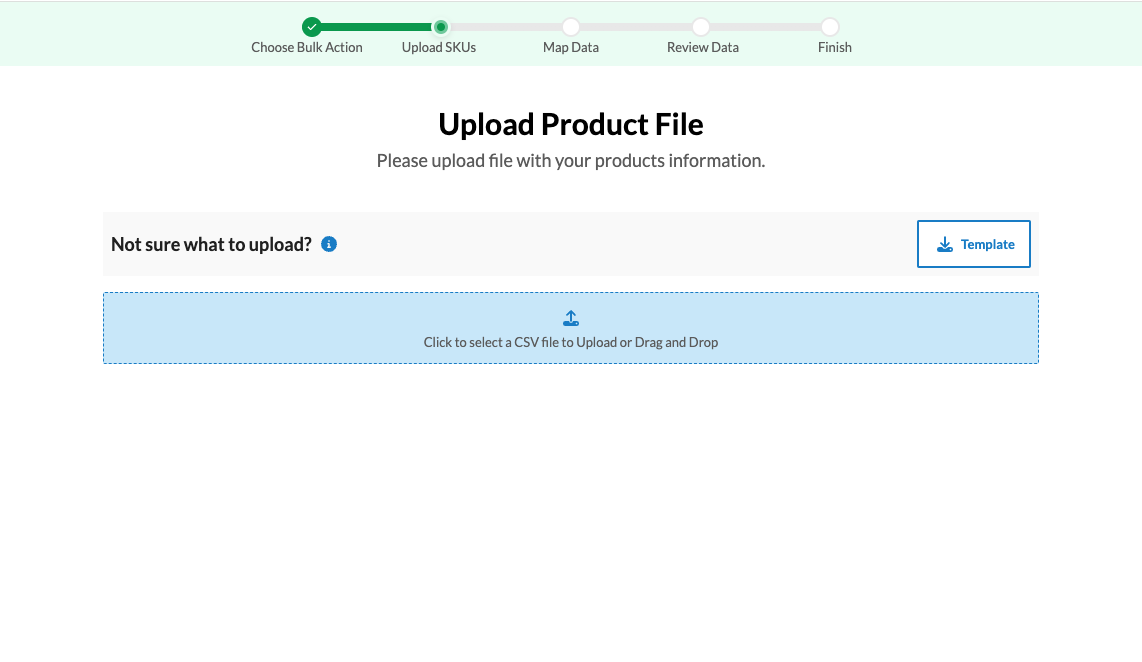
Next, upload the CSV file you created earlier. You can either drag the file into the blue upload box or click the box to browse for the file on your computer.
Once your product file is uploaded, click Next.
Map Data

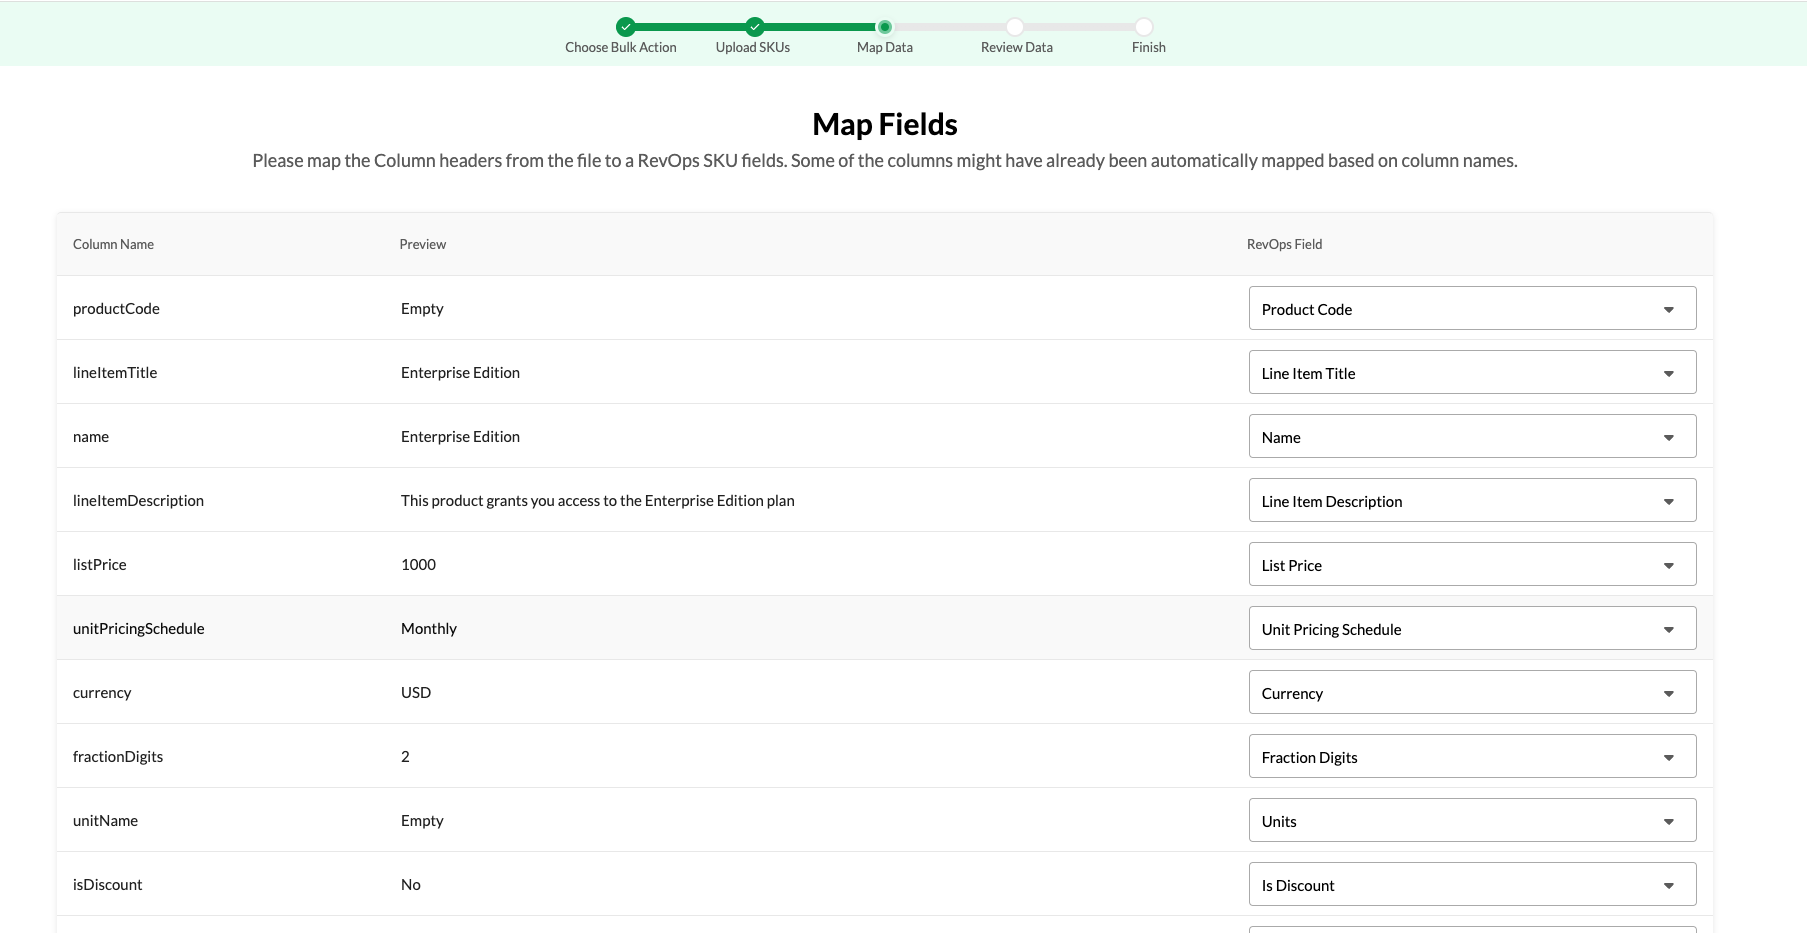
In this step, you’ll map the columns in your spreadsheet to the corresponding fields in RevOps on the SKU object. If you used our template, the fields should automatically map correctly. If you're using a custom spreadsheet, you may need to manually select the appropriate fields. For any column that doesn’t have a corresponding field in RevOps, select "Ignore this Field" from the dropdown.
Review Data

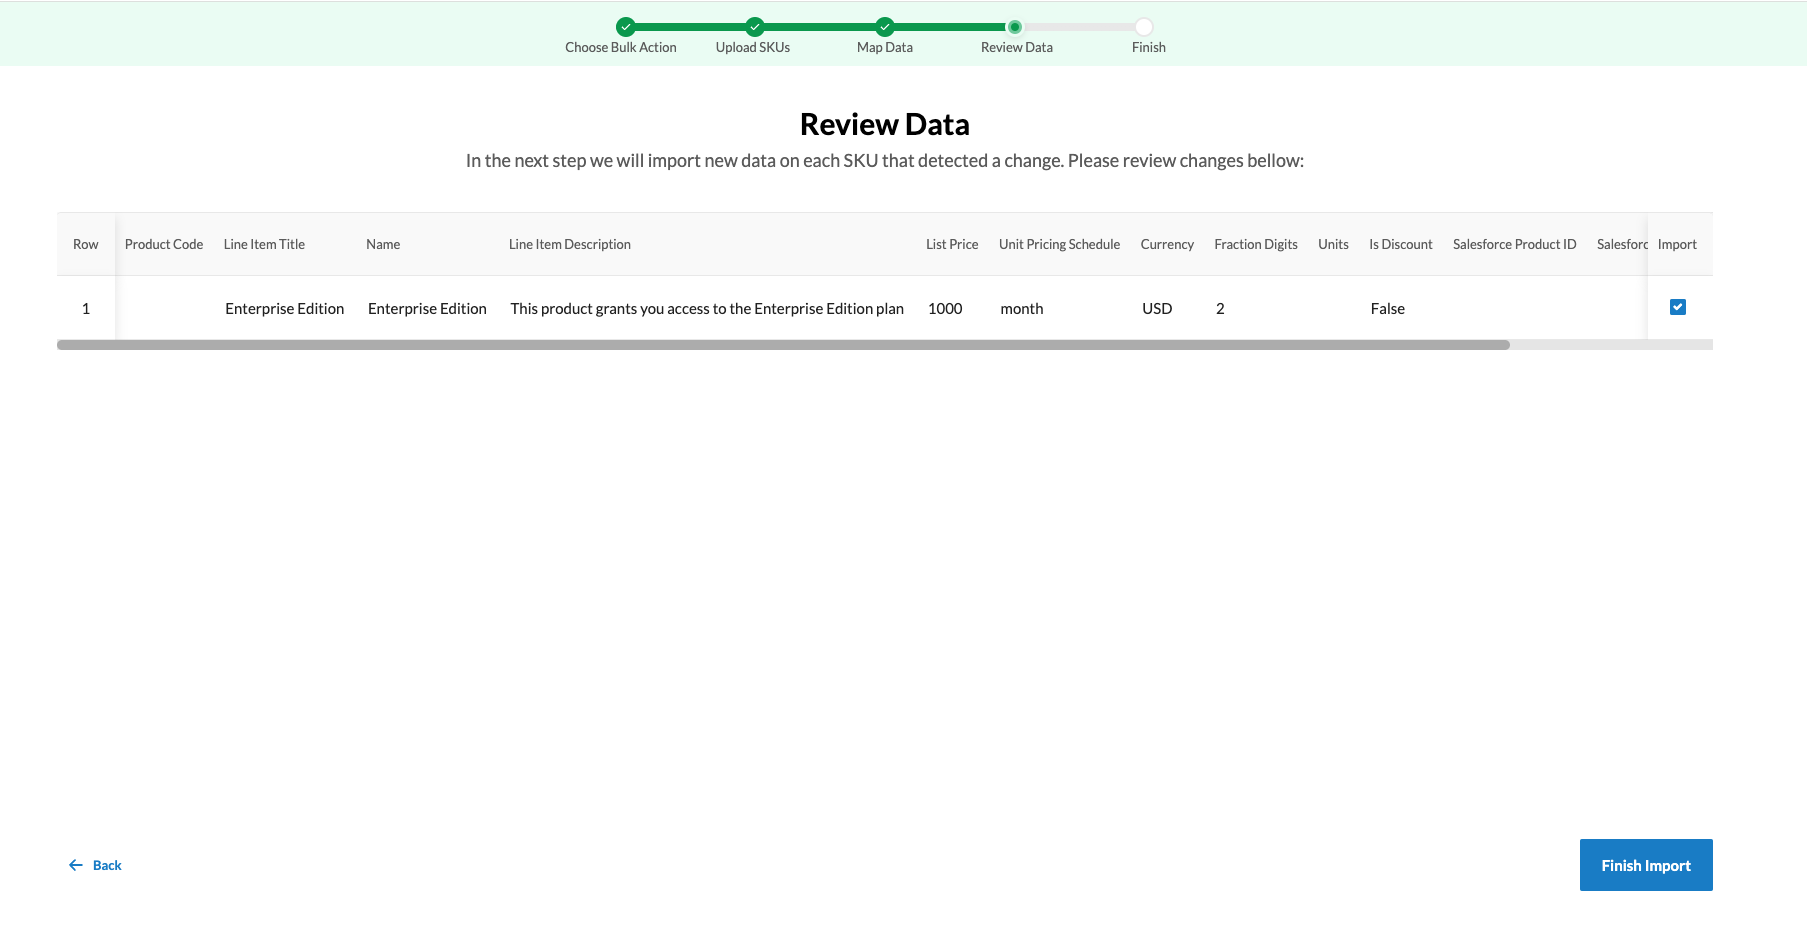
Finally, review the data that will be imported into RevOps. The wizard will indicate if there are any validation errors in your file. If there are, you'll need to correct them and re-upload the file to proceed.
If there are SKUs you do not wish to import, you can deselect them using the checkbox on the right-hand side of each row in the table.